
Introduction
I initially was using SimpleLogin for routing my custom domains. One of the problems with SL was CC'ing other people and replying. It would reveal both the SimpleLogin proxy email and the actual email address. I heard about using Cloudflare Email Routing for sending emails, but I also wanted to recieve emails via GMail. I discovered PurelyMail online which only costed 10 USD per year, had a trial, and should be able to handle both send and recieve.
PurelyMail Domain Set Up
DNS
First I set up my Domain with PurelyMail. I was using Cloudflare for routing, so I followed the instructions to add the seven records. The instructions are below:
- Click the "Add record" button and select the "MX" type. Put
@on the "Name" field andmailserver.purelymail.comon the Mail Server field. Leave TTL onAutoand set priority to50. Save. - Click the "Add record" button again and select the "TXT" type. Put
@on the "Name" field andv=spf1 include:_spf.purelymail.com ~allon the Content field. Leave TTL onAuto. Save. - Click the "Add record" button again and select the "TXT" type. Put
@on the "Name" field andpurelymail_ownership_proof=XXXXXXXXXXXXXXon the Content field. Leave TTL onAuto. Save. - Click the "Add record" button again but this time select the "CNAME" type. Put
purelymail1._domainkeyon the "Name" field andkey1.dkimroot.purelymail.comon the Content field. Leave TTL onAutoand click on the cloud on "Proxy Status" and set it as DNS only (this is very important). Save. - Click the "Add record" button again but this time select the "CNAME" type. Put
purelymail2._domainkeyon the "Name" field andkey2.dkimroot.purelymail.comon the Content field. Leave TTL onAutoand click on the cloud on "Proxy Status" and set it as DNS only (this is very important). Save. - Click the "Add record" button again but this time select the "CNAME" type. Put
purelymail3._domainkeyon the "Name" field andkey3.dkimroot.purelymail.comon the Content field. Leave TTL onAutoand click on the cloud on "Proxy Status" and set it as DNS only (this is very important). Save. - Finally, click the "Add record" button again and select the "CNAME" type. Put
_dmarcthe "Name" field anddmarcroot.purelymail.comon the Content field. Leave TTL onAutoand click on the cloud on "Proxy Status" and set it as DNS only (this is very important). Save.
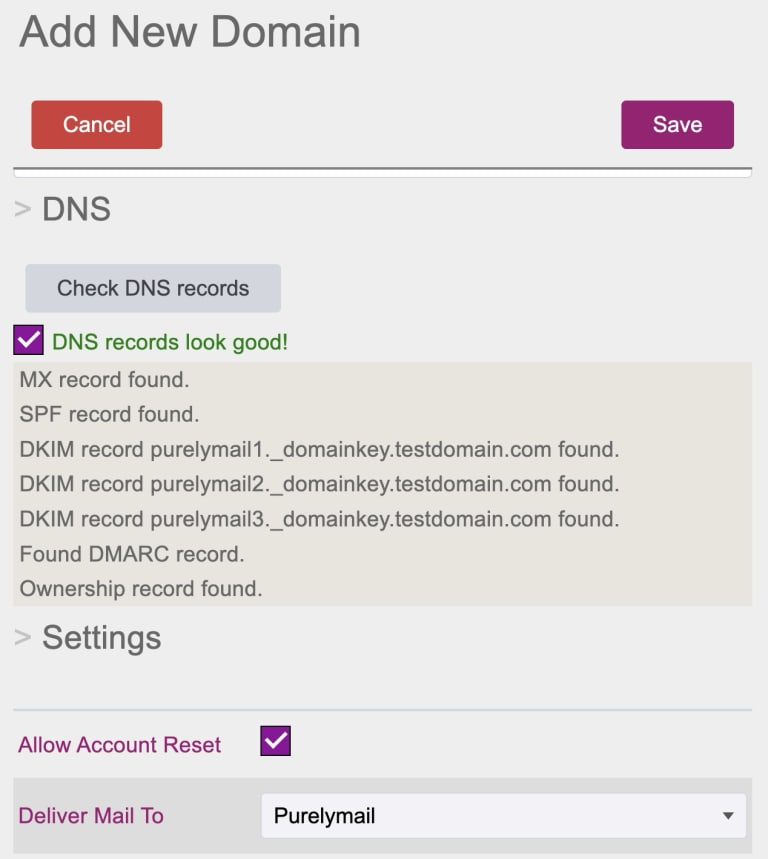
Below is my resulting DNS for the domain:

When I clicked Check DNS Record on PurelyMail, everything looked good.
Creating User
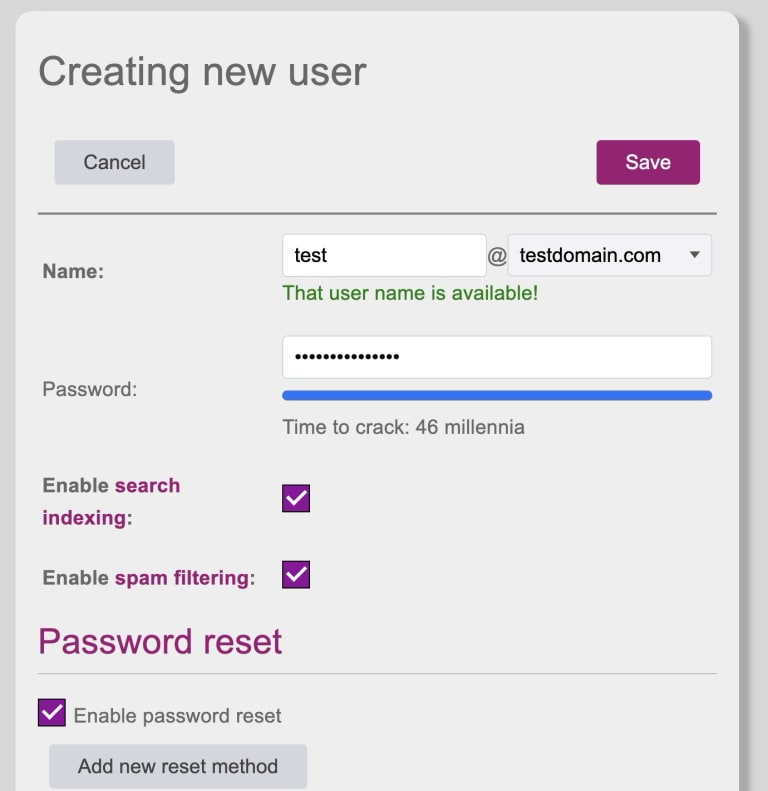
I created a new user for the domain with a username and password.
GMail Configuration
Sending Emails
I went to GMail settings and clicked Add another email address under Send mail as:

I went through the wizard for set up. Adding email as alias:

I then added the SMTP server. SMTP uses port 587 and smtp.purelymail.com. I used the username and password of the new PurelyMail user I created earlier.

After clicking Add Account from the previous step, I got prompted to confirm the email.

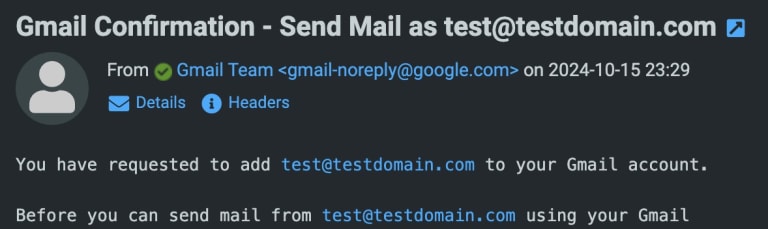
After clicking on the link in the email, I was prompted to confirm.


Receiving Emails
GMail doesn't allow for IMAP, so I had to use POP3. I went to GMail settings and clicked Add a mail account under Check mail from other accounts:

Selecting POP3

I then added the POP3 details. POP3 uses port 995 and pop3.purelymail.com. I used the username and password of the new PurelyMail user I created earlier. I decided to leave a copy of the email on the server just in case.

Conclusion
I used MailGenius to test emails, and they scored 97 (three less for domain TLD and content of email). Now I can manage all emails from the domain in GMail and fix the issue with CC'ing or replying. I just need to ensure I top up PurelyMail.


