Introduction
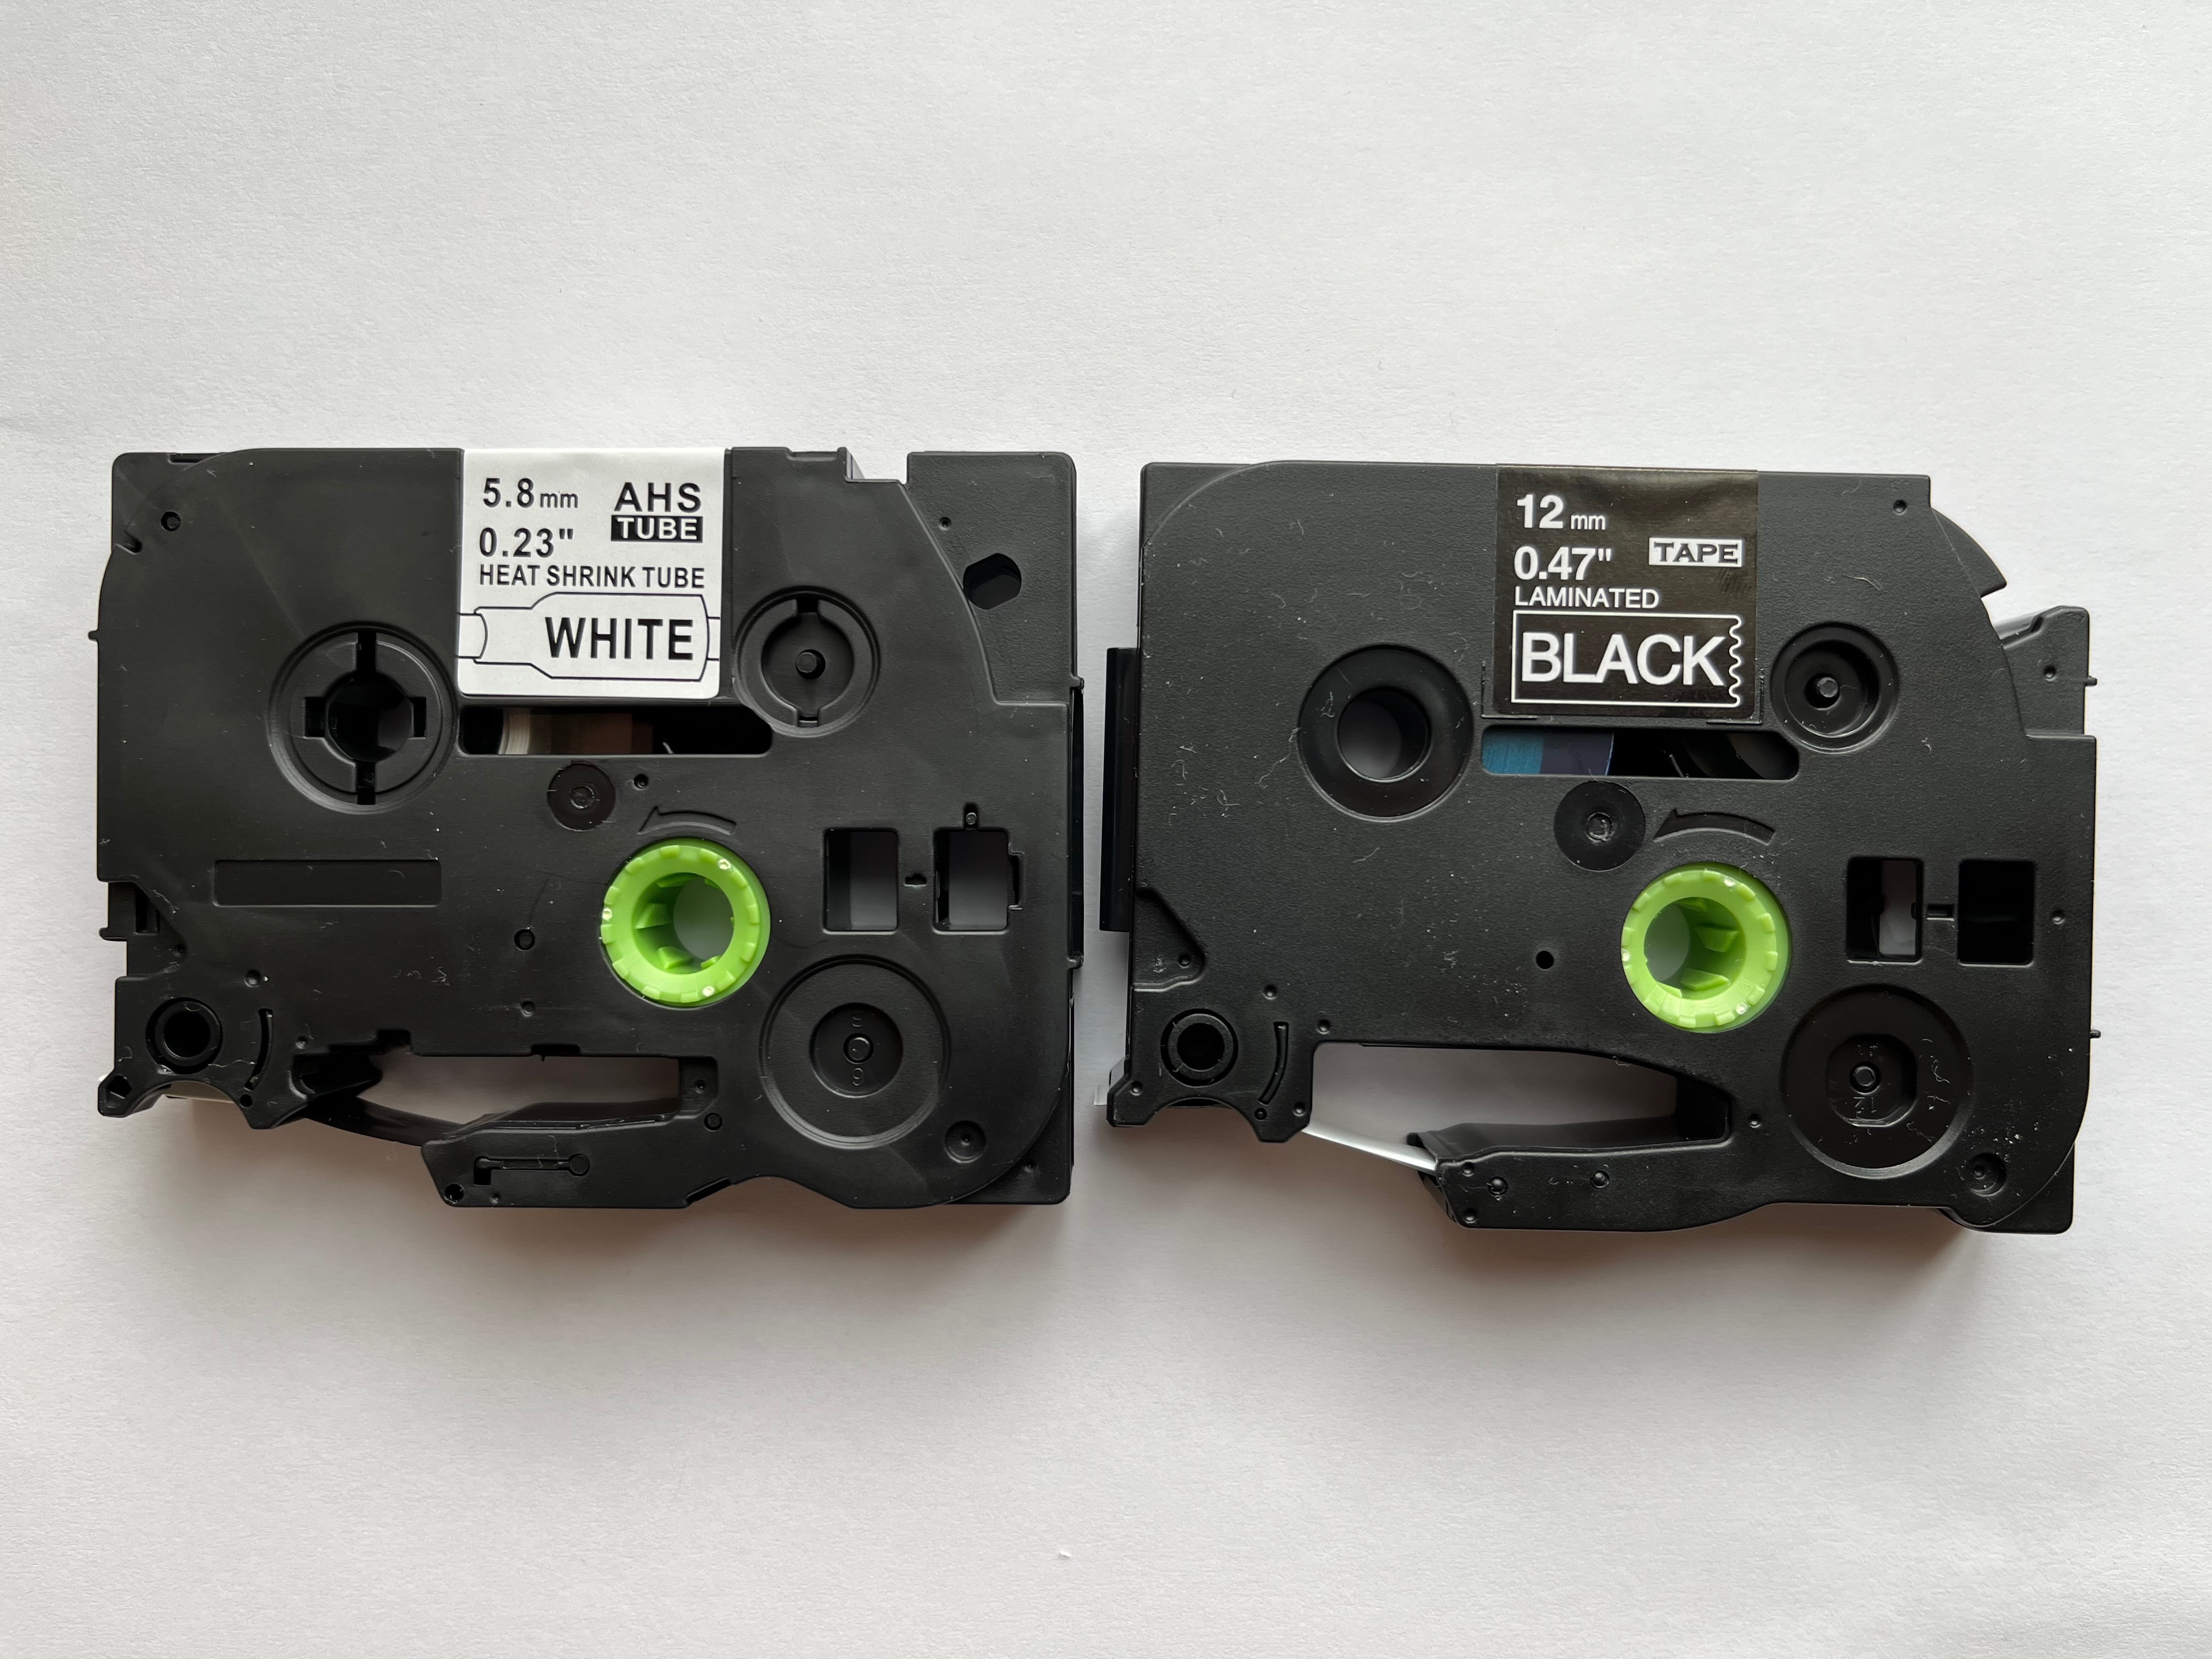
I wanted to print some heat shrink labels for the wires on my 3D printer. None of the cassettes on Amazon worked with my Brother P-Touch H110. One of the popular label makers was the DYMO Rhino 4200, but it was $100 CAD and I didn’t want another label maker. I found a P-Touch compatible cassette for other models on Amazon which looked very similar to ones for the H110. I decided to purchase one and see if I could get it working on my label maker.
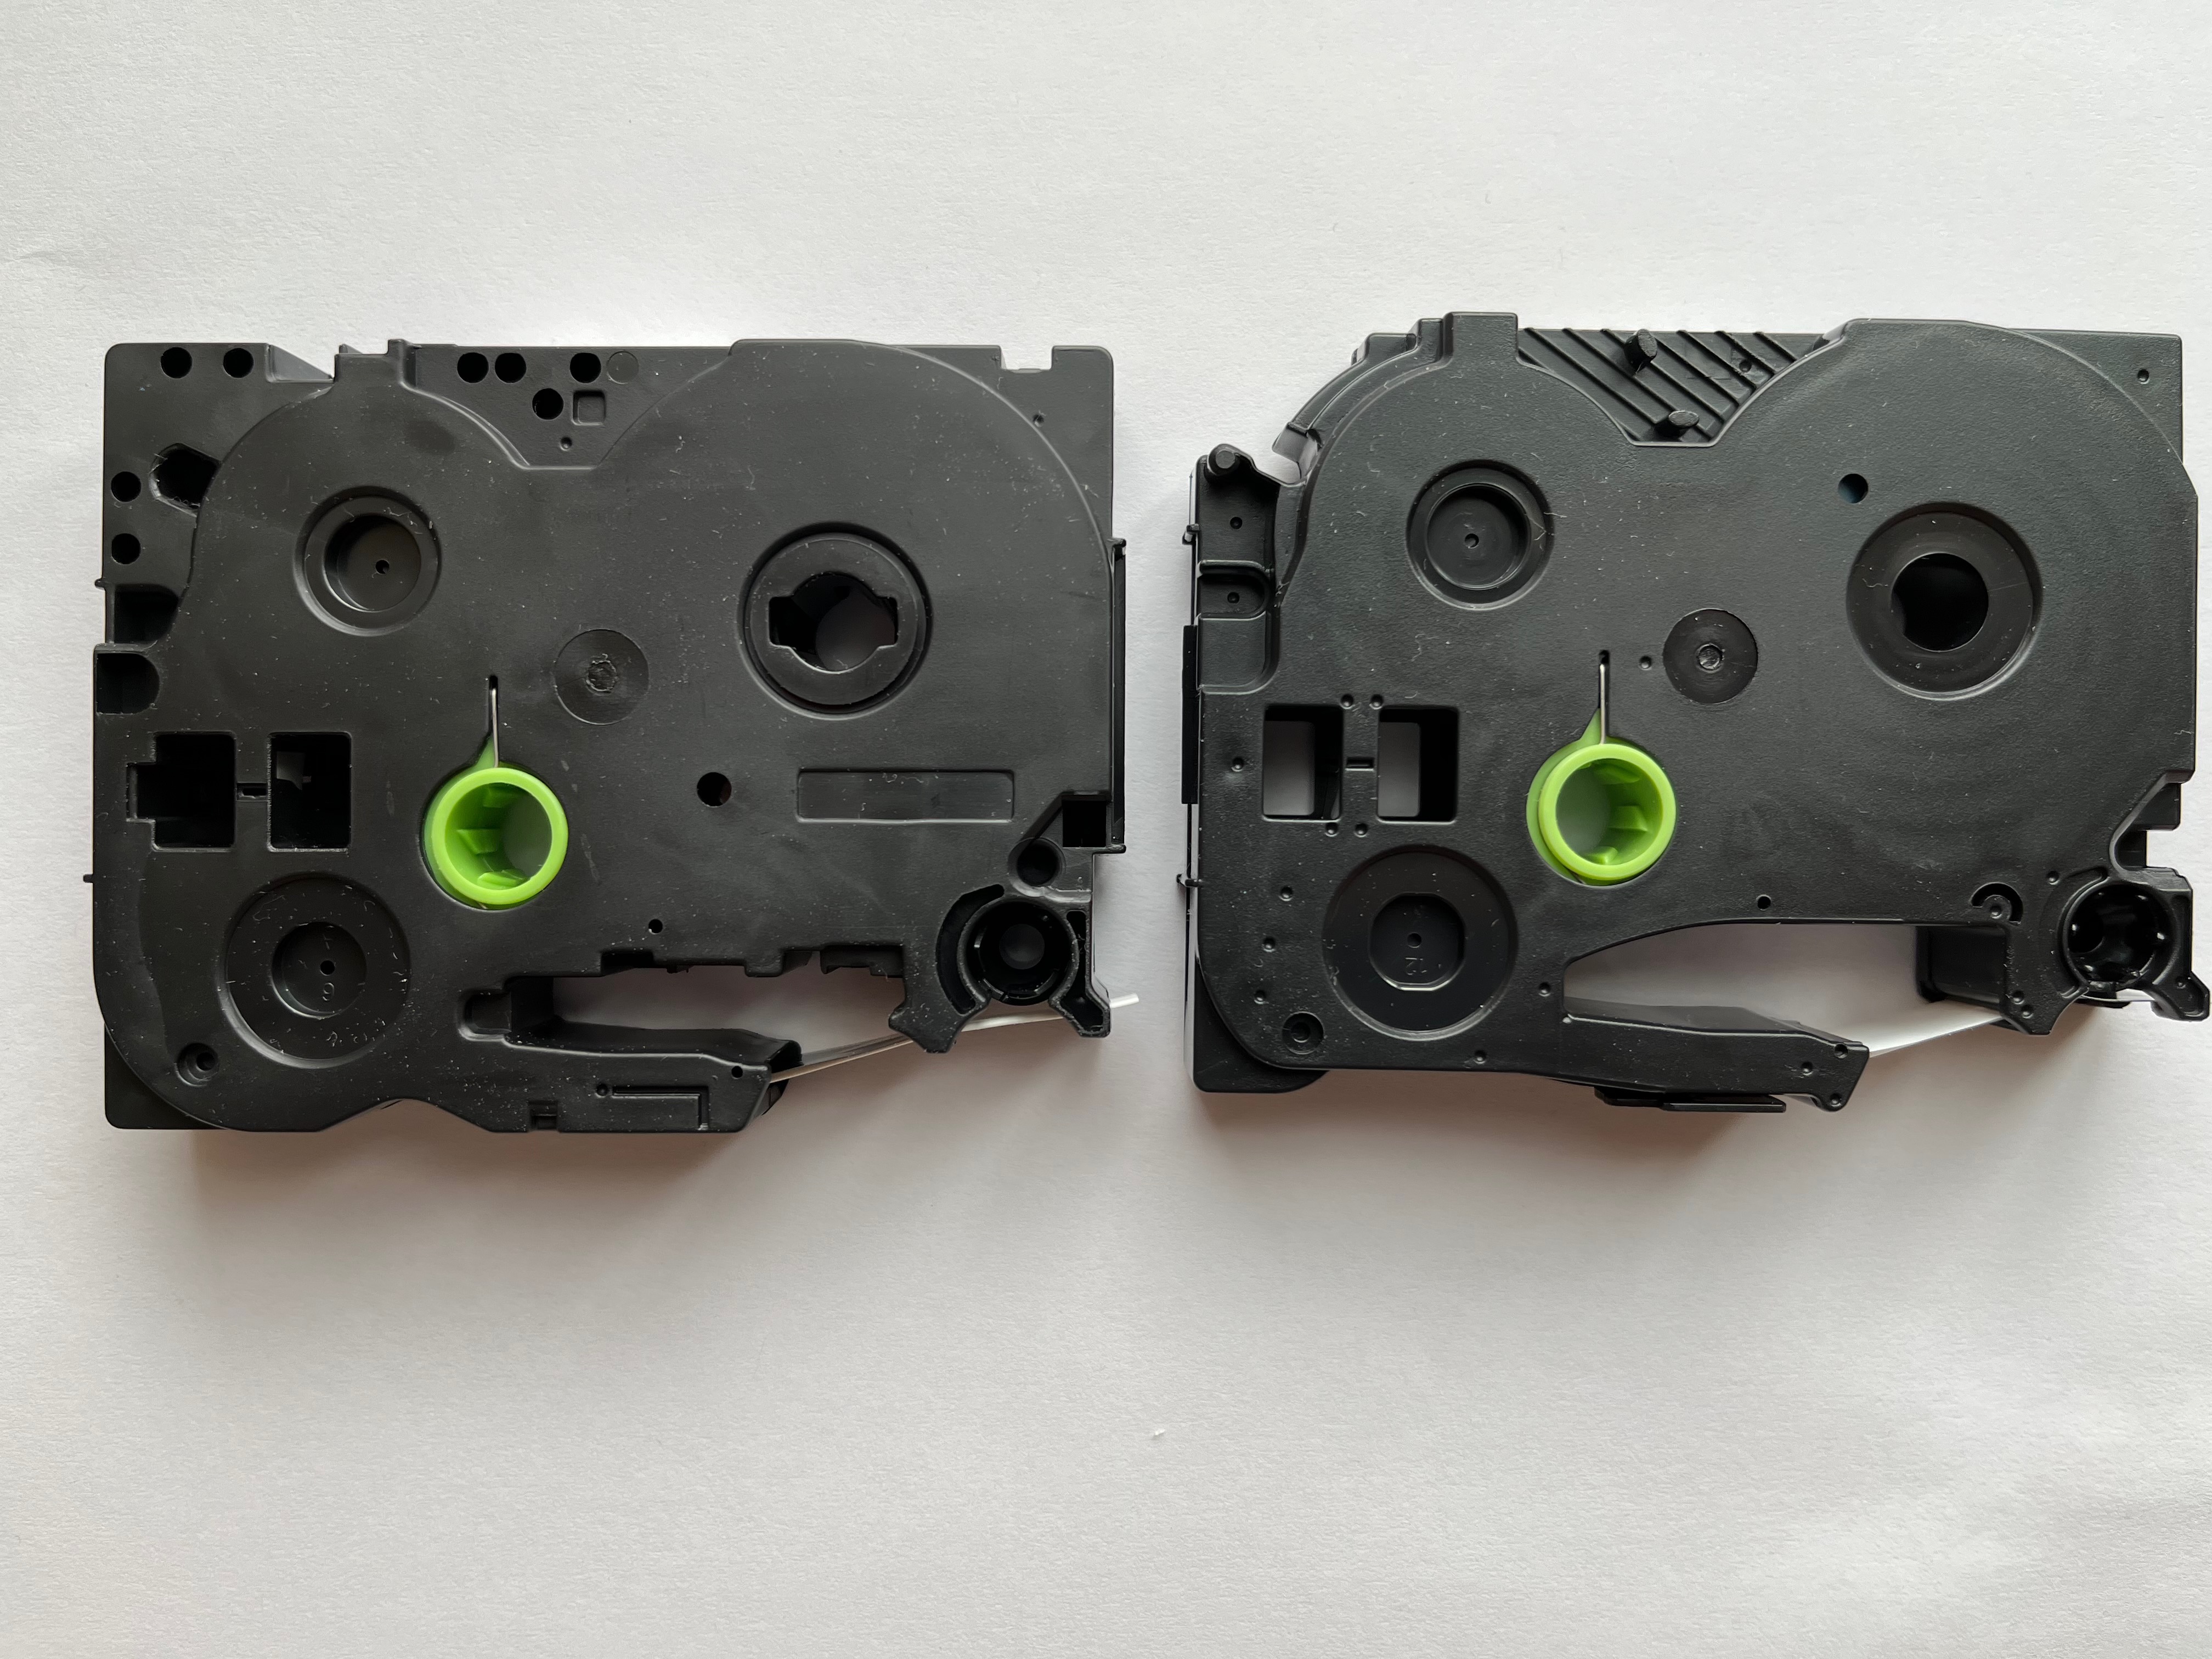
Cassette bottoms

Cassette sides


Troubleshooting
Once the package arrived, I installed the cassette into my label maker. It fit well and there didn’t seem to be any sizing issues. I tried printing a test label, but ended up getting a No Cassette! error.
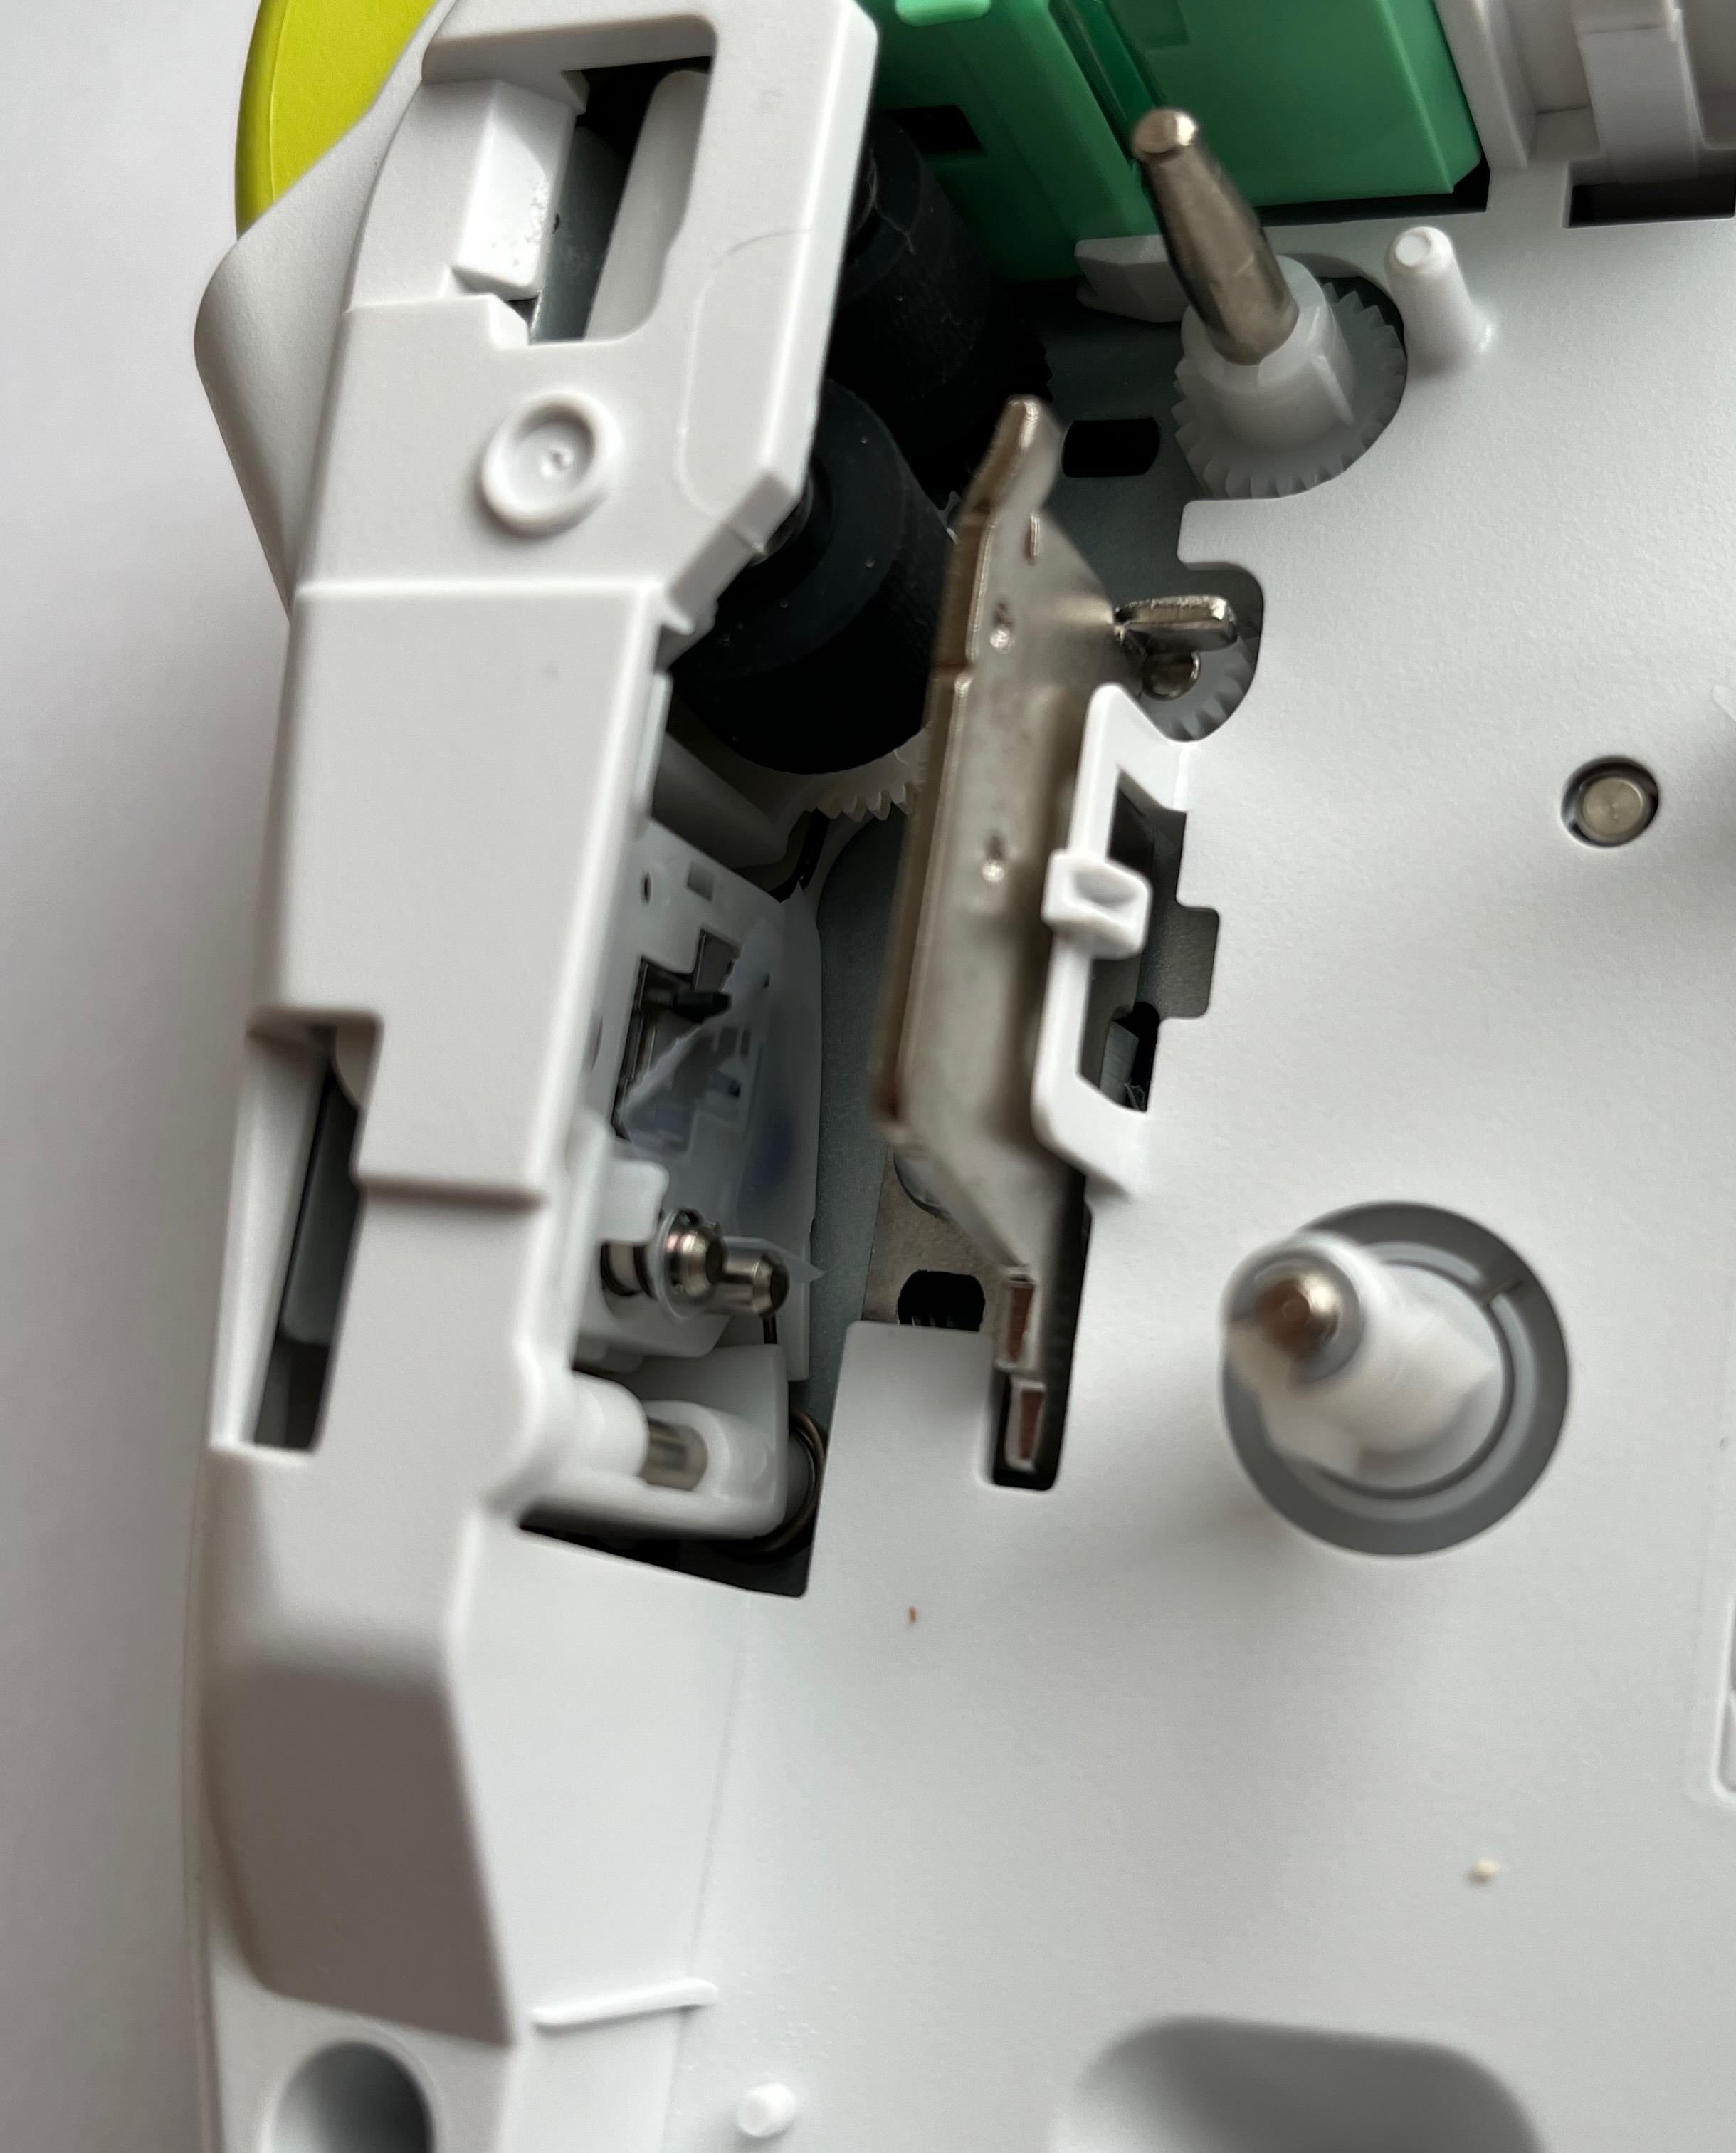
After inspecting the cassettes further, I noticed that the H110 cassette had a plastic part to push pins inside the label maker. I put some tape onto all the pins to keep them inserted. Another test label revealed a Wrong Tape! error.
I believed that not all the pins were pushed down, so I taped down the bottom two leaving the top. The label ended up printing, but the text was very large and it was mirrored.
Label maker pins

Taped pins

Print Settings
Now that I was able to print, I could modify my settings. I did the following settings below for my labels.
- Width -> 1/2 Width
- Margin -> Chain Print
- Text Size -> Small
To get the labels printed non-mirrored, I pressed Shift -> Print -> Mirror. Since I selected chain printing, I was prompted with Feed Ok? after printing. I hit Esc then continuted printing my labels, mirroring each time. After I was done, I hit OK which extruded some more label to cut.
Printed labels

I was going to design a 3D printed adapter for cassettes but found that just adding tape worked.
Taped cassette

Conclusion
Overall, this was much easier than I thought. The only modification that the cassette needed to work in the H110 was tape. This will be very convenient for any future wiring.